This guide is your comprehensive manual for mastering MinutesHUB. We'vedesigned it to be as intuitive as the app itself, walking you through every feature—from your first sign-in to exporting your first set of perfectly formatted minutes. Our goal is to empower you to capture meeting discussions accurately and efficiently, so you can focus on what truly matters.
Let's get started!
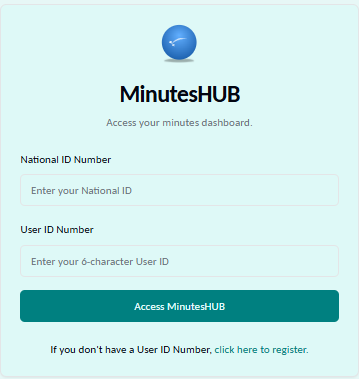
The Access Page is your secure gateway to the MinutesHUB application. To protect your organization's sensitive meeting data, we use a two-factor login system that does not rely on traditional passwords, which can be forgotten or stolen.
Understanding Your Credentials
Every registered user is given two unique pieces of information to log in:
- Your National ID: This acts as your private identifier. You will use the same National ID you provided during registration.
- Your User ID: This is a unique 6-character code (e.g., `AB12CD`) assigned to you by the system. It is your public identifier.
For Existing Users: Step-by-Step Login
If you already have your credentials, follow these steps to log in:
- Navigate to the MinutesHUB Access Page. You will see the main login form.
- In the first field, labeled "National ID Number," carefully enter your National ID. For your security, the characters you type will be hidden, similar to a password field.
- In the second field, labeled "User ID Number," enter your unique 6-character User ID.
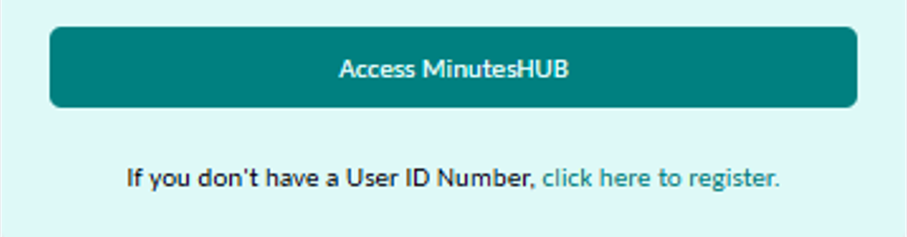
- Click the "Access MinutesHUB" button to proceed to your dashboard.
For New Organizations & First-Time Admins: Registration
If your organization is new to MinutesHUB, a primary administrator must first register it. This is a one-time process that requires a special passphrase provided by the developer.
- On the Access Page, locate and click the "click here to register" link.
- A registration dialog will appear. First, you must enter the one-time passphrase you received to unlock the form.
- Complete the multi-step form with your organization's and your personal administrator details.
- Upon successful submission, you will see a confirmation dialog. This is very important: The dialog will display your newly generated 6-character User ID.
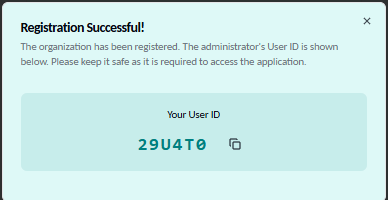
Critical First Step
You must copy and save this User ID immediately. It is required for you to log in for the first time. Once this dialog is closed, the ID cannot be shown again.
Troubleshooting & Support
- Invalid Credentials Error: If you see an "Access Denied" or "Invalid credentials" error, double-check that you have typed both your National ID and User ID correctly. Both are case-sensitive.
- Forgot your User ID? You must contact your organization's primary administrator. They can look up your User ID in the member management section.
- Need a Registration Passphrase? Contact the developer at the details listed on the main landing page to get a one-time passphrase for your organization.
To unlock the full potential of MinutesHUB and save significant time in the long run, we highly recommend completing this one-time setup. By pre-loading your organization's details, members, and common roles, you create a personalized environment where most fields will be pre-filled for you in the future. Investing a few minutes now will streamline every meeting you document later.
Organization Setup
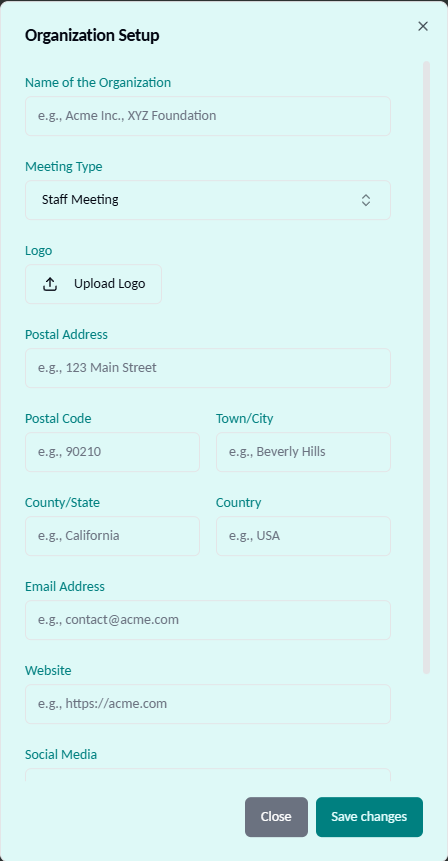
This is the most critical setup step. The information you provide here will be used to automatically generate a professional letterhead for all your official documents, ensuring brand consistency and a polished final look.
- In the header of the main application, locate and click the main Settings icon (⚙️). This will open the Organization Setup dialog.
- A dialog box will appear. Meticulously fill in all the fields:
- Name of the Organization: Your official organization name.
- Meeting Type: Select a default type or create a custom one.
- Logo: Upload a high-quality version of your logo. This is crucial for branding.
- Contact & Address Details: Fill in your address, email, website, etc. This information will appear in the footer of your documents.
- Slogan / Motto: An optional field for your organization's tagline.
- Once you've reviewed all the details, click "Save changes" to apply them. These settings will now be the default for all new minutes.
Power-Up: Pre-configuring Settings
This is where you'll pre-populate the dropdown menus you'll use regularly. Taking a few minutes to complete this will make filling out meeting forms incredibly fast, as you'll be selecting from lists instead of typing from scratch.
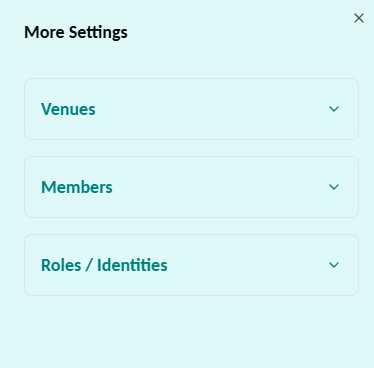
- In the header, click the More Settings icon () to open the side panel.
- Within the panel, you will find several collapsible sections: Venues, Members, and Roles / Identities. Click on any section header to expand it.
- Inside each section, you can add items individually or use the "Bulk Add" feature to paste a list from a spreadsheet or document:
- Venues: Add all common physical meeting locations (e.g., "Boardroom A") or online platforms (e.g., "Google Meet," "Zoom").
- Members: Add a complete list of all individuals who might attend meetings. You can also specify their default role and venue/branch here to save even more time.
- Roles / Identities: Add common roles within your organization (e.g., "Chairperson," "Secretary," "Treasurer") to standardize titles.
- Changes are saved automatically as you add them, so you can close the panel when you're done. Your dropdown menus throughout the app will now be populated with this data.
With your initial setup complete, you are now ready to create your first set of minutes. The main form guides you through a simple 3-step process, which is always visible at the top of the screen. Let's walk through each step.
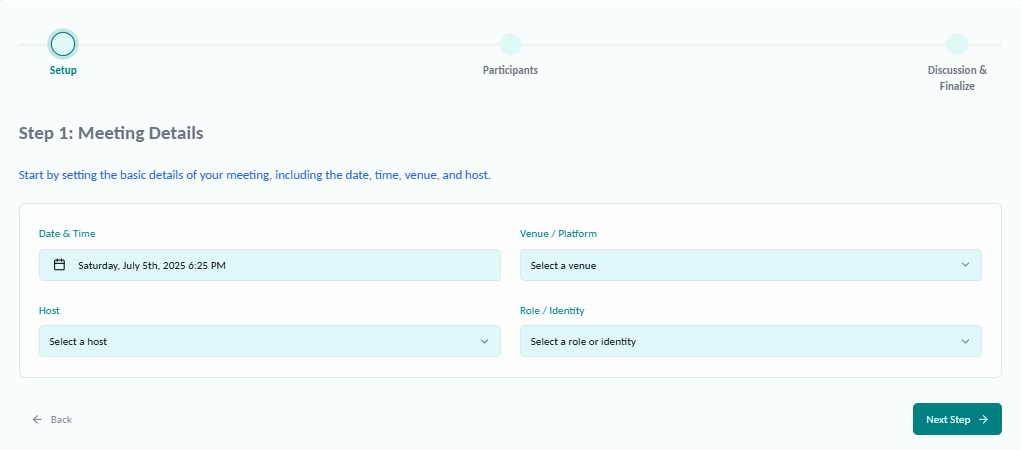
Step 1: Meeting Details
This section sets the overall context for your meeting. The details you enter here will appear at the top of your final document, right below the letterhead. Select the meeting's date, time, venue, and the host from the dropdown menus you pre-populated earlier.
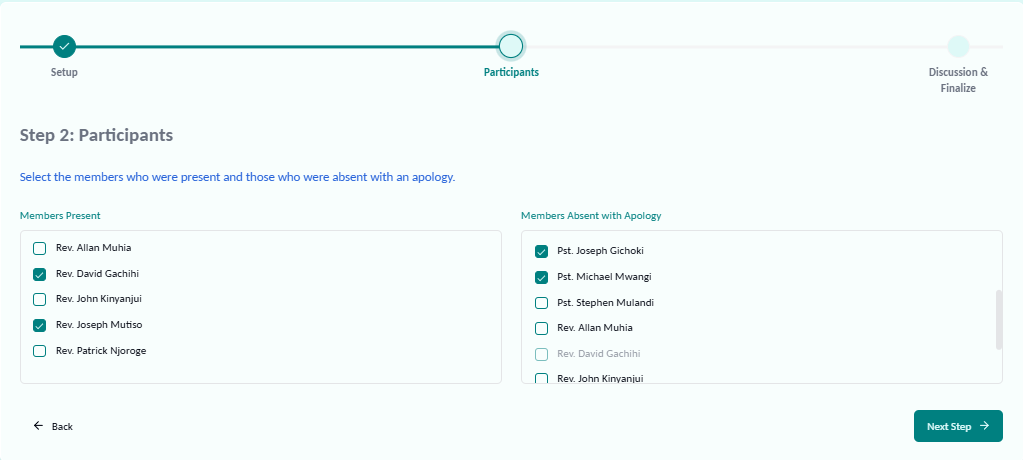
Step 2: Participants
Here, you'll record attendance. The lists are populated from the members you added in the "More Settings" panel. Simply check the box next to each member's name to mark them as "Present" or "Absent with Apology." The system intelligently prevents you from marking a member as both present and absent simultaneously.
Step 3: Discussion & Finalize
This is the most comprehensive step, where you capture the substance of your meeting and prepare the final document. This section has its own sidebar navigation on the left to guide you through each part of the process.
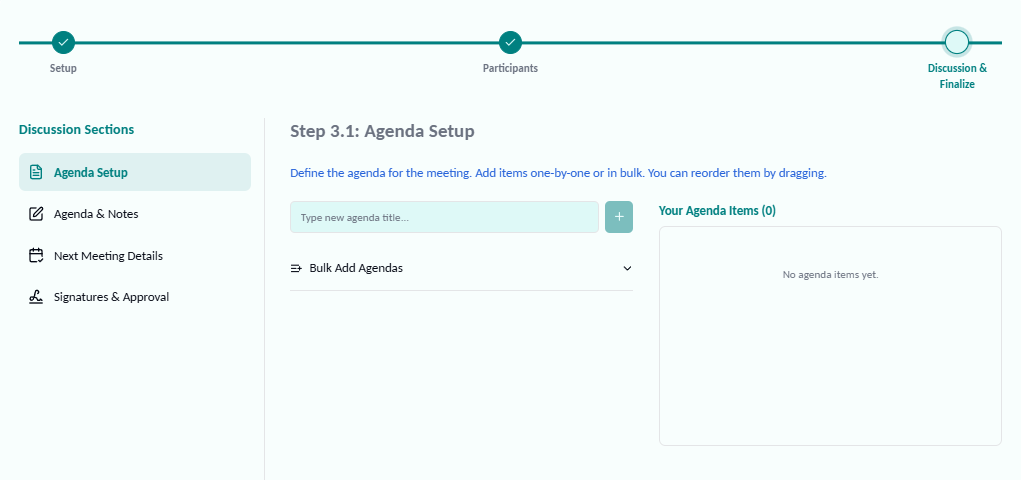
Step 3.1: Agenda Setup
Begin by laying out the meeting's structure. Add all your agenda items here. You can add them one by one or use the "Bulk Add" feature to paste a pre-written list. Once added, you can easily drag and drop the items to reorder them to match the meeting's flow.
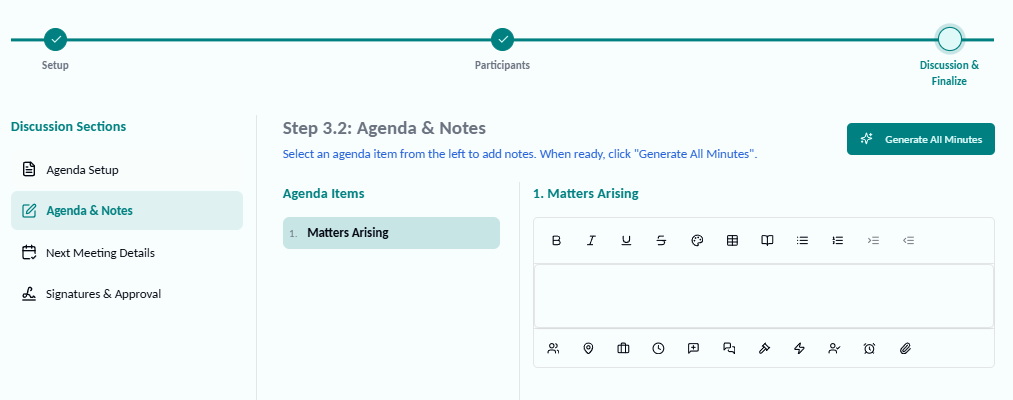
Step 3.2: Agenda & Notes — Real-Time Minutes Generation
🔍 What the Feature Does
This is where MinutesHUB truly shines. The system automatically drafts formal minutes as you provide structured input. The AI uses these categorized notes to generate clean, professional text without any extra effort from you.
🛠 How to Use It – A Step-by-Step Guide
- Select an Agenda Item: Click on an item from the list on the left. This will activate the note-taking panel for that specific topic.
- Add Structured Notes: Use the toolbars to enter notes. The top toolbar provides standard formatting (bold, lists, etc.), while the bottom toolbar helps you quickly insert information like member names, decisions, or action items.
- Generate Minutes: Once you've added all the necessary notes for an agenda item, click the "Generate All Minutes" button. The system will compile all your structured notes into polished, narrative-style paragraphs. You will get a chance to review and edit this text before saving.
Enhance Your Notes: Toolbars
Top Formatting Toolbar
At the top of the editor, you'll find a familiar set of formatting options: Bold, Italic, lists, tables, text color, and even a Bible Tool () to look up and insert verses.
Bottom Quick-Insert Toolbar
At the bottom of the editor, a handy toolbar helps you insert pre-saved information and common phrases instantly:
- Insert Member/Venue/Role: Click to open a searchable list of members, venues, or roles you've saved in Settings.
- Insert Timestamp: Adds the current time to your notes.
- Insert Proposer: Opens a member list. Selecting a name inserts `**Proposer:** [Name]`.
- Insert Responder: Opens a member list. Selecting a name inserts `**Responder:** [Name]`.
- Insert Decision: Inserts `**Decision:** `.
- Insert Action: Inserts `**Action:** `.
- Assign to Member: Opens a member list. Selecting a name inserts `**Assigned to:** [Name]`.
- Insert Deadline: Inserts `**Deadline:** `.
- Reference Attachment: Opens your file browser to insert a file's name for reference.
Benefit: This feature drastically speeds up your workflow and eliminates spelling errors, ensuring names, roles, and locations are always consistent.
✅ Benefits to the User
- Save Time: Eliminate the need to manually write and format minutes from scratch.
- Maintain Accuracy: Generate content while the discussion is fresh, reducing errors and omissions.
- Ensure Professionalism: Maintain a consistent and professional tone across all your documents.
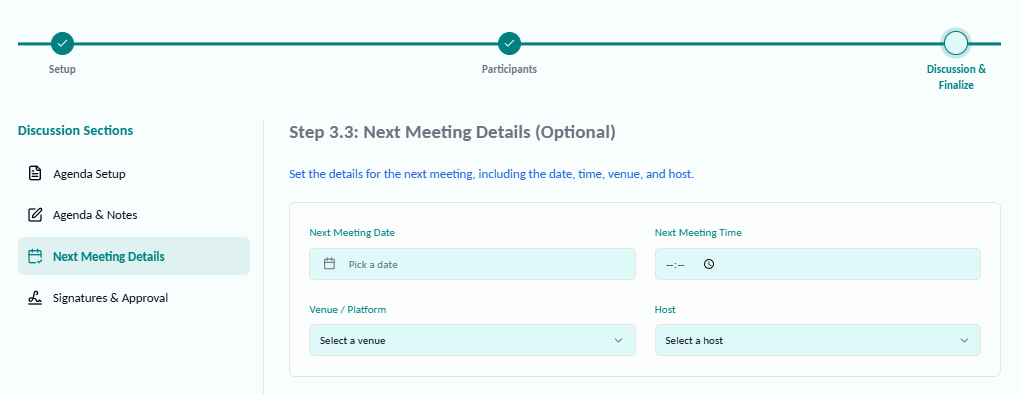
Step 3.3: Next Meeting Details (Optional)
If the date, time, and venue for the next meeting were decided, you can record those details here. This information will be included at the end of your minutes document for easy reference.
Step 3.4: Signatures & Approval
This is the final step before your document is complete. Here, you will add the approval details to make the minutes official.
- Select the names of the individuals who prepared and approved the minutes from the dropdowns.
- Assign their respective roles (e.g., Secretary, Chairperson).
- Click the "Compile Minutes" button. This will open a full-screen, distraction-free preview of the final document.
- From the preview screen, you can print the document directly or save it as a PDF for electronic distribution and archiving.
